Fall is here and most youth leagues have wound down or will be soon. With the weather turning for us northerners, it's hard to get outside to practice. But training for youth and little league baseball can be done year-round—responsibly and without wearing out your kid, of course.
Batting training in the offseason is challenging, but it's not impossible. While there might not be any better way to improve as a hitter than facing live pitching, finding a live pitcher with command or even a pitching machine isn’t always feasible. When these are not an option, here are 7 (seven!) youth hitting drills worth trying.
Hitting Drills
1) Use Phoenix Wood Training Bats
- Half Bat Trainer (available in Youth, Youth Transition, and Adult)
- Shorty Live BP Trainer (available in Youth, Adult, and Fastpitch Softball)
- Heavy Weight Training Bat
- The Skinny Bat
- Swing Speed Trainer
- 1- or 2-hand Drills PB34 Trainer
- 1-handed Drills PB Trainer
- The Zone Wood Bat (available in Baseball and Fastpitch Softball)
- Not sure where to start with all these options? Take a look at this extensive blog to find the training wood bat the meets your needs.
2) High Tee, Low Tee
What you’ll need**:
- 2 adjustable tees (or 1 tee and something about 6 inches taller than the tee)
- Trainer baseball or whiffle ball
- Phoenix wood baseball bat (learn how to find the right size here)
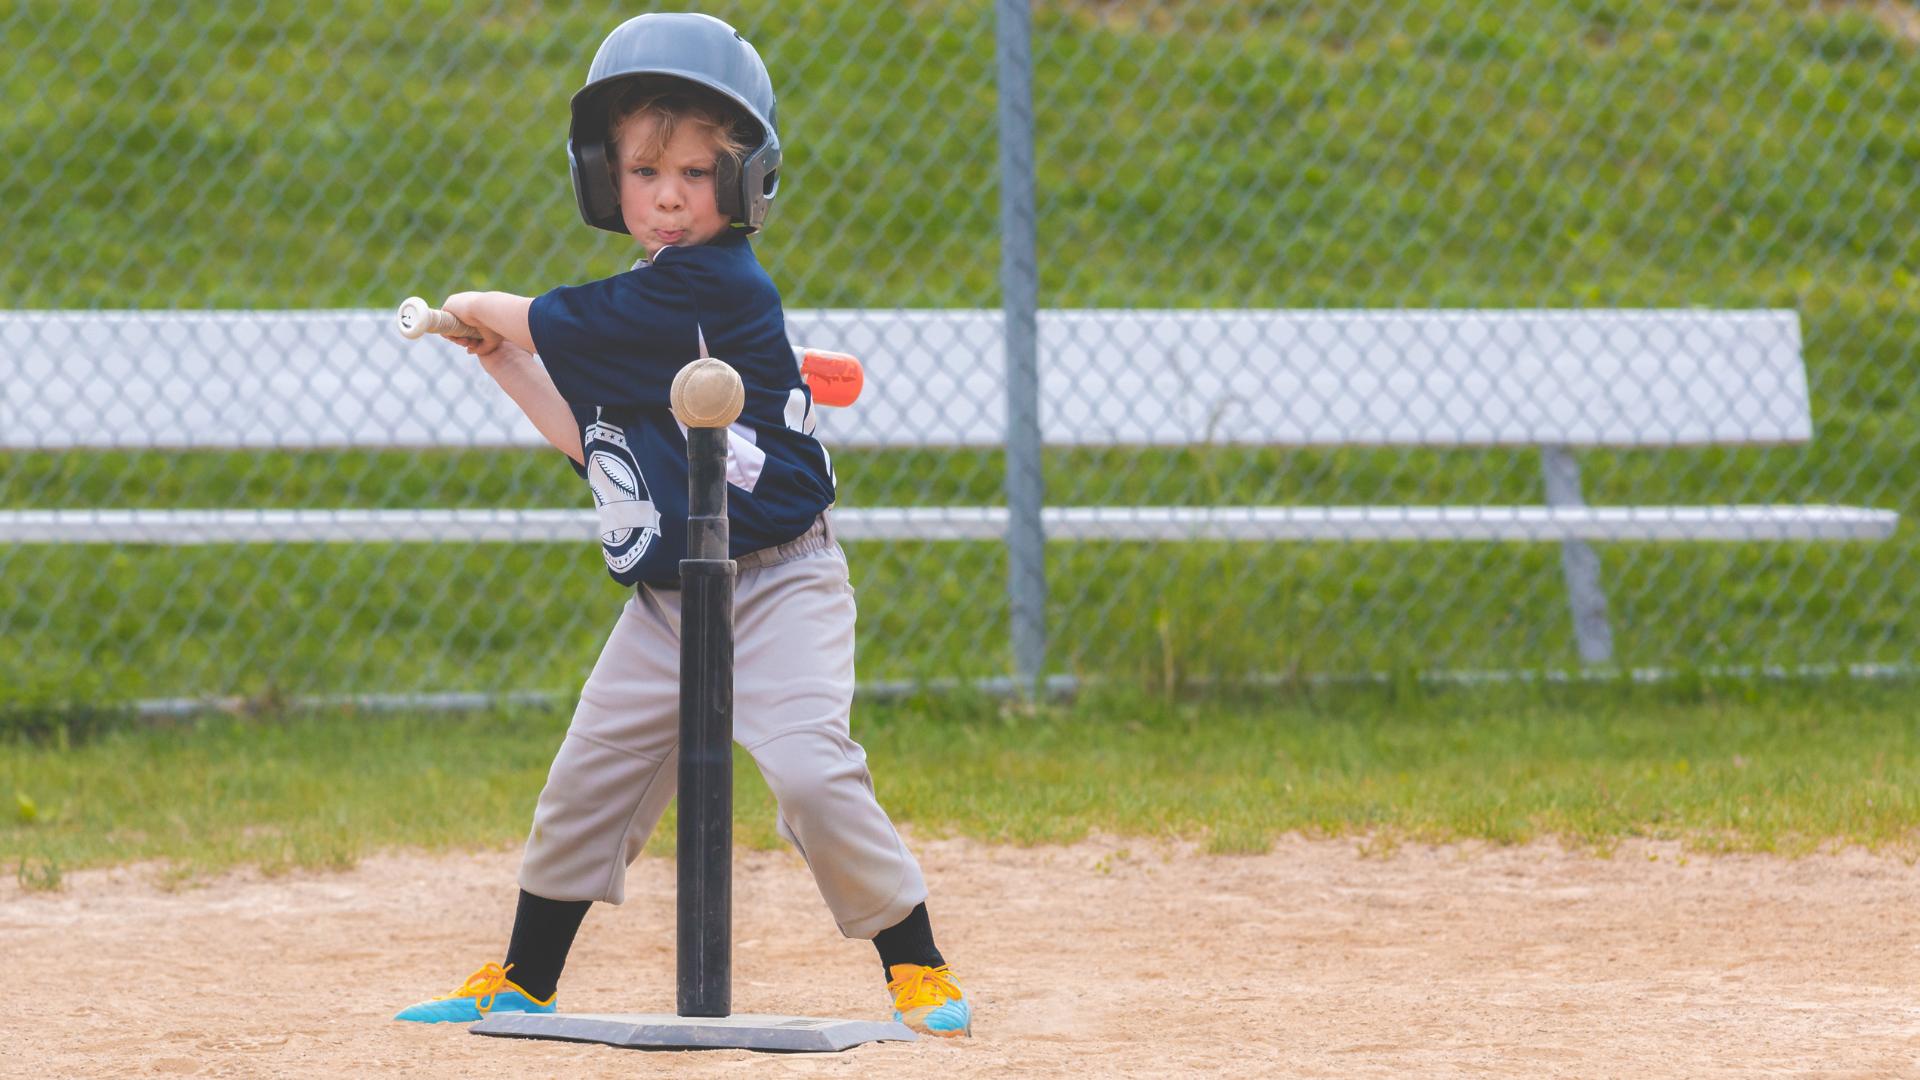
Many times, young hitters’ swings are too long and uppercut like a golf swing. Here’s a simple drill to fix that issue: Set up a tee as usual, then take another tee and put it about a foot-and-a-half behind the other one. This back tee should be about six inches higher than the front tee. The goal is to swing over the back tee and hit the ball on the front tee and nothing else.
Practice swinging until your little slugger consistently swings over the back tee and connects with the ball on the front tee. If the swing follows the correct path, it will result in solid line drives.
3) Footy It Up
What you’ll need:
- Phoenix wood baseball bat
- Tee
- Soccer ball or basketball
- Soccer net or lacrosse net would be a bonus
Hitting a soccer ball sounds easy enough, right? The point of this hitting drill is not just to make contact with the ball, but to drive through it and work on hitting for power. Since it’s a bigger ball with more recoil, the key is to swing and drive through the ball rather than just striking it.
Having a soccer net is a bonus because it gives hitters a target as they try for line drives up the middle. If you can't find a soccer net, a large, sturdy wall will work as well. Make sure to stand back far enough so the ball won't bounce back off the wall too fast for you to react.
4) Stuck in the Bucket
What you’ll need:
- Two car tires (check your local junkyard)
- Trainer baseballs
- Phoenix wood baseball bat
- Tee
To stay balanced and be in a position to make contact, it’s important that batters don’t step out of the batter’s box when swinging. To engrain the habit of staying in the box, try this drill: align the two tires side by side and have the batter stand with one foot in each tire.
This helps the batter gets the feel of being in a batter's box. Hitters can either hit off a tee or out of their hand by tossing the ball into the air. The key is for both feet, most importantly- the front foot, to stay in the tire while hitting.
It can be frightening for young ballplayers to face live pitching with the fear of being hit. But if they learn the proper technique in practice, it increases the chance they will use it in games. Doing this drill will get the player comfortable in the proper position at impact and lead to more confidence in the box. 
5) Don't Hit the Fence
What you’ll need:
- Phoenix wood baseball bat
- Fence
The point of this drill is to build young hitters' confidence in hitting inside pitches. The batter should stand about one bat length away from the fence, no further. They should be close to the fence, but not close enough to actually strike it.
The batter should envision an inside pitch coming at them, then swing the bat. Their swing should drag the head of the bat behind their hands until the bat reaches the front of their body, then quickly extend the head outward at the "ball." Repeating this practice will help young hitters perfect a short, quick swing for those real-life inside pitches.
6) Heavy Bag Bash
What you’ll need:
- Heavy bag (punching bag)
- Phoenix wood baseball bat
No, we’re not trying to bust through a heavy bag like a piñata. Instead, take swings at the heavy bag, and at the point of contact, instead of recoiling, continue to drive through the bag. Don't just whack it—swing with proper form and swing for the fences.
The goal here is improving torque—or twisting power—in your core. Hitting through a heavy bag takes a good deal of power. Strengthening your core allows your body to turn harder and faster, generating more power during your swing, and allowing you drive through the bag (and later, the ball).
7) Soft Toss Net with Hitting Tee
What you’ll need:
- Soft toss net
- Tee
- Phoenix wood baseball bat
- Trainer or whiffle balls
No home training regimen is truly complete without a soft-toss net (and a hitting tee to round it all out). Soft toss nets allow you to take full-power swings without fear of peppering the neighbors with baseball mortar fire. Just tee the ball up, and concentrate on driving through the ball into the center of the net.
Sans tee, just the ball up one-handed before cranking it into the net, or get some teammates to join you. Toss-ups have the benefit of the ball’s random position as you swing. You won’t hit the ball in the same spot in the air like you will with a tee. One toss might go high and outside, and the next will go elsewhere.
Batting Practice Makes Perfect
Ultimately, there is no true substitute for live pitching, but not having a live pitcher doesn't mean you shouldn't practice. The more time you spend perfecting your batting technique—even without a live pitcher—will only benefit your performance.
Continued use of these practices in combination with actual game play will certainly improve your line drives, balance, power, and overall results. So get outside, get to swinging, and work on a victorious trot for when you hit your first grand slam!
Need a good bat to practice your drills? Shop youth training bats here.
BONUS Fielding Drills
We all love bonus stuff. You weren’t expecting it, yet here it is. We pooled a few more drills for practicing at home—these focusing on building good fielding habits. You can’t always rely on your trusty wood bat. You have to play defense eventually.
Ceiling Toss
Throwing and catching go hand-in-hand, or rather hand-to-hand. The ceiling toss works on your throwing mechanics—specifically with your wrist and fingers. Here’s how it goes:
- Get a practice baseball or whiffle ball. We don’t recommend using a real ball indoors.
- Pick a room with a high ceiling (and no fragile valuables) and lie down on the floor.
- Concentrate on a spot on the ceiling.
- Toss the ball up a few feet towards that spot, using proper technique in the wrist and fingers to get a good backspin on the ball.
- Catch the ball with your throwing hand, taking care to not let the ball hit you in the face (the fear is a great motivator to catch the ball).
- As you get more comfortable, try throwing a little higher, and focus on throwing straight up, then catching the ball without moving your arm. Just be careful not to hit the ceiling.
With enough repetition, you’ll gain better throwing mechanics and hand-eye coordination, the latter of which benefits both your defensive and offensive game. The ceiling toss is a great way to stay sharp without much effort. Play some music or a podcast to zone out and become one with the ball.
Wall Bounce
Similar to the ceiling toss, but probably a bit more fun, the wall bounce focuses on hand-eye coordination and throwing mechanics. This one we’ll need to take outside, or to a large basement with open space, if you’re so blessed.
Again, arm yourself (or the trainee) with a training baseball or whiffle ball. Kids, if you’re reading this—for the love of god, do not start winging a real baseball at the garage door or house siding, and stay away from windows. These would be expensive lessons and a great way to test your parents’ love.
Once you’ve found a suitable wall, back yourself up about 20 feet from the wall. With proper throwing form, throw the ball off the wall at different heights and angles, and get yourself in proper position to field the ball. Try to pick a different spot on the wall to aim at on each throw, and go through the motions as if you were fielding and throwing to a base—for muscle memory’s sake.
As for the fielding, keep your body in front of the ball and use soft hands to absorb the ball into the glove and body. Go bare-handed, use your glove, or use a training mitt to really get your fielding technique down.
Target Practice
Bust out the soft toss net and bucket of balls again, but this time we’re working on throwing accuracy. Set the net up about 30 feet from your throwing position.
Now, we’re going to simulate fielding. Start with the ball in your hand, and assume your fielding position. Move your hand with the ball down into the glove, as if you were securing a grounder, and pull the ball into your body and into throwing position.
As you throw, pay attention to your form. Notice how you grab the ball from your glove and how you adjust it in your hand to find the seams. As you begin to throw, point your toes towards your target, step into your throw, and let it rip with a nice follow-through.
Go slow at first and pay attention to mechanics. Once comfortable, move up to game speed, and try throwing from different distances and angles to simulate throwing from different parts of the infield.
**All product links to external sites are non-affiliate links. Phoenix Bat Company does not receive any compensation for purchases outside our own site. We just picked a single nationally known sports outfitter for simplicity’s sake. Feel free to shop around.


